-
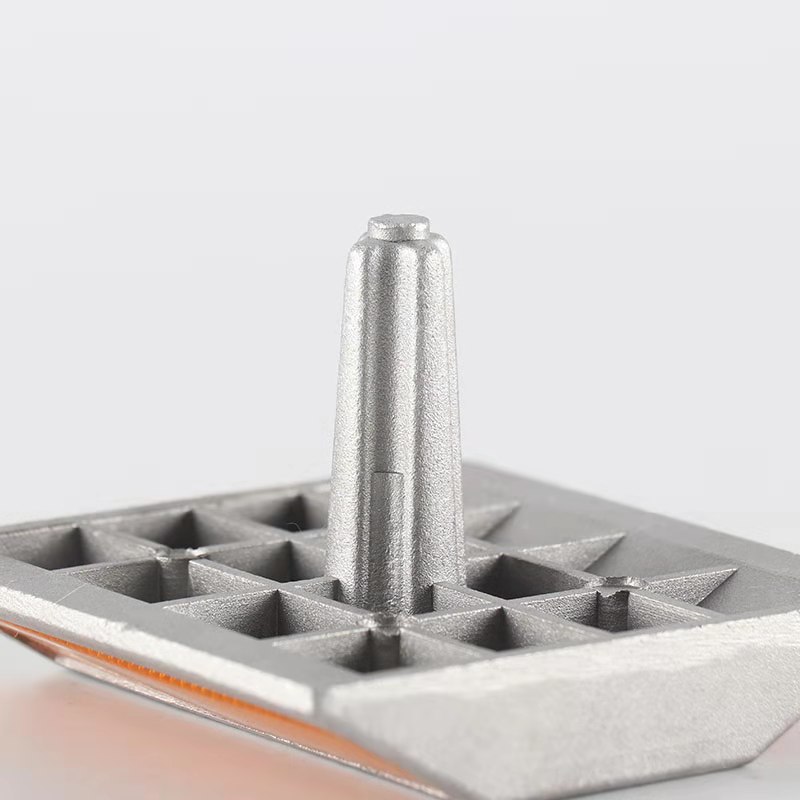
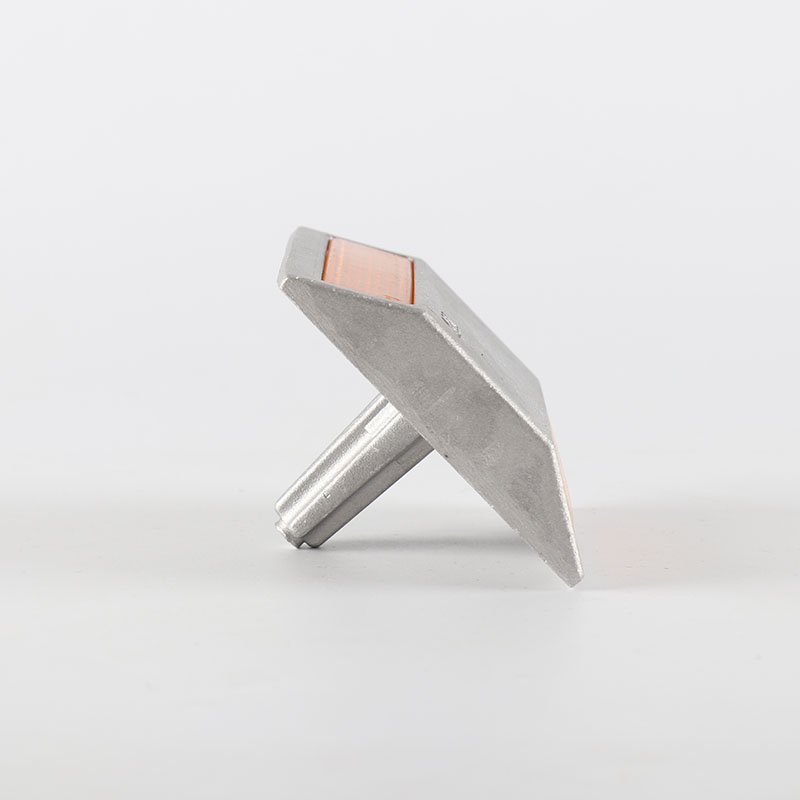
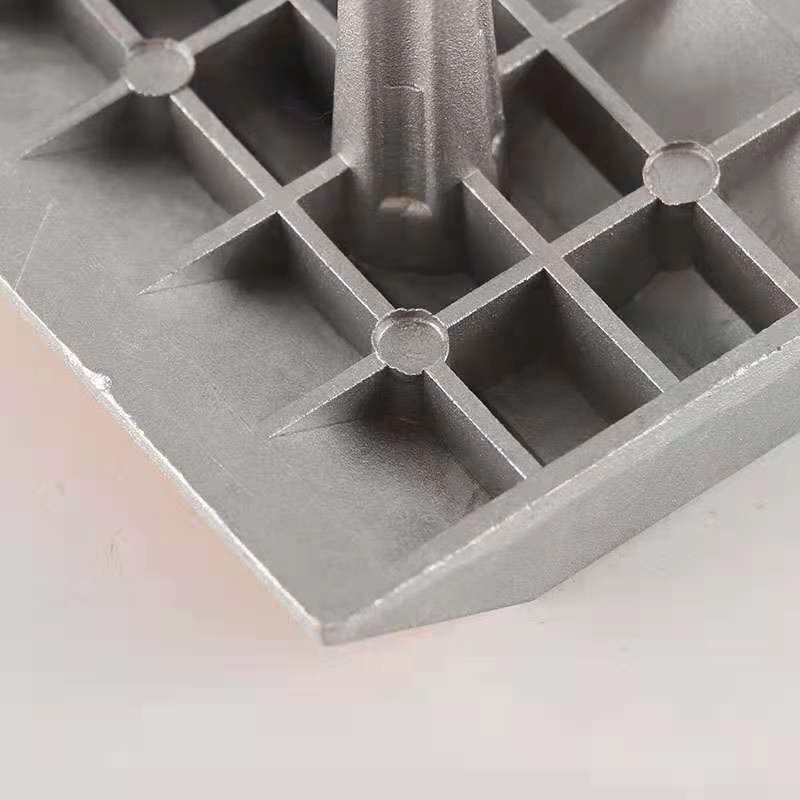
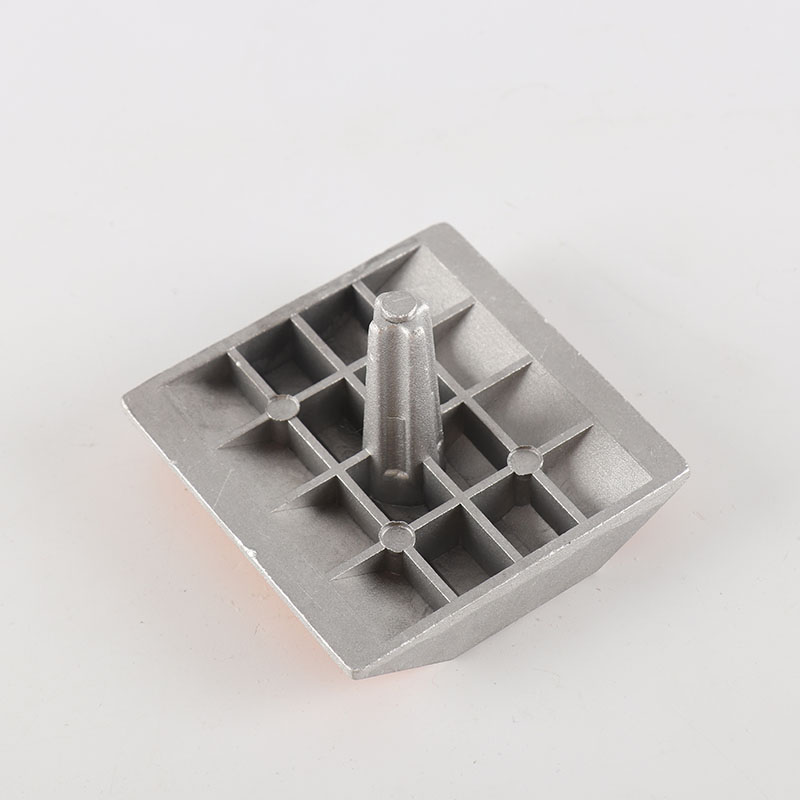
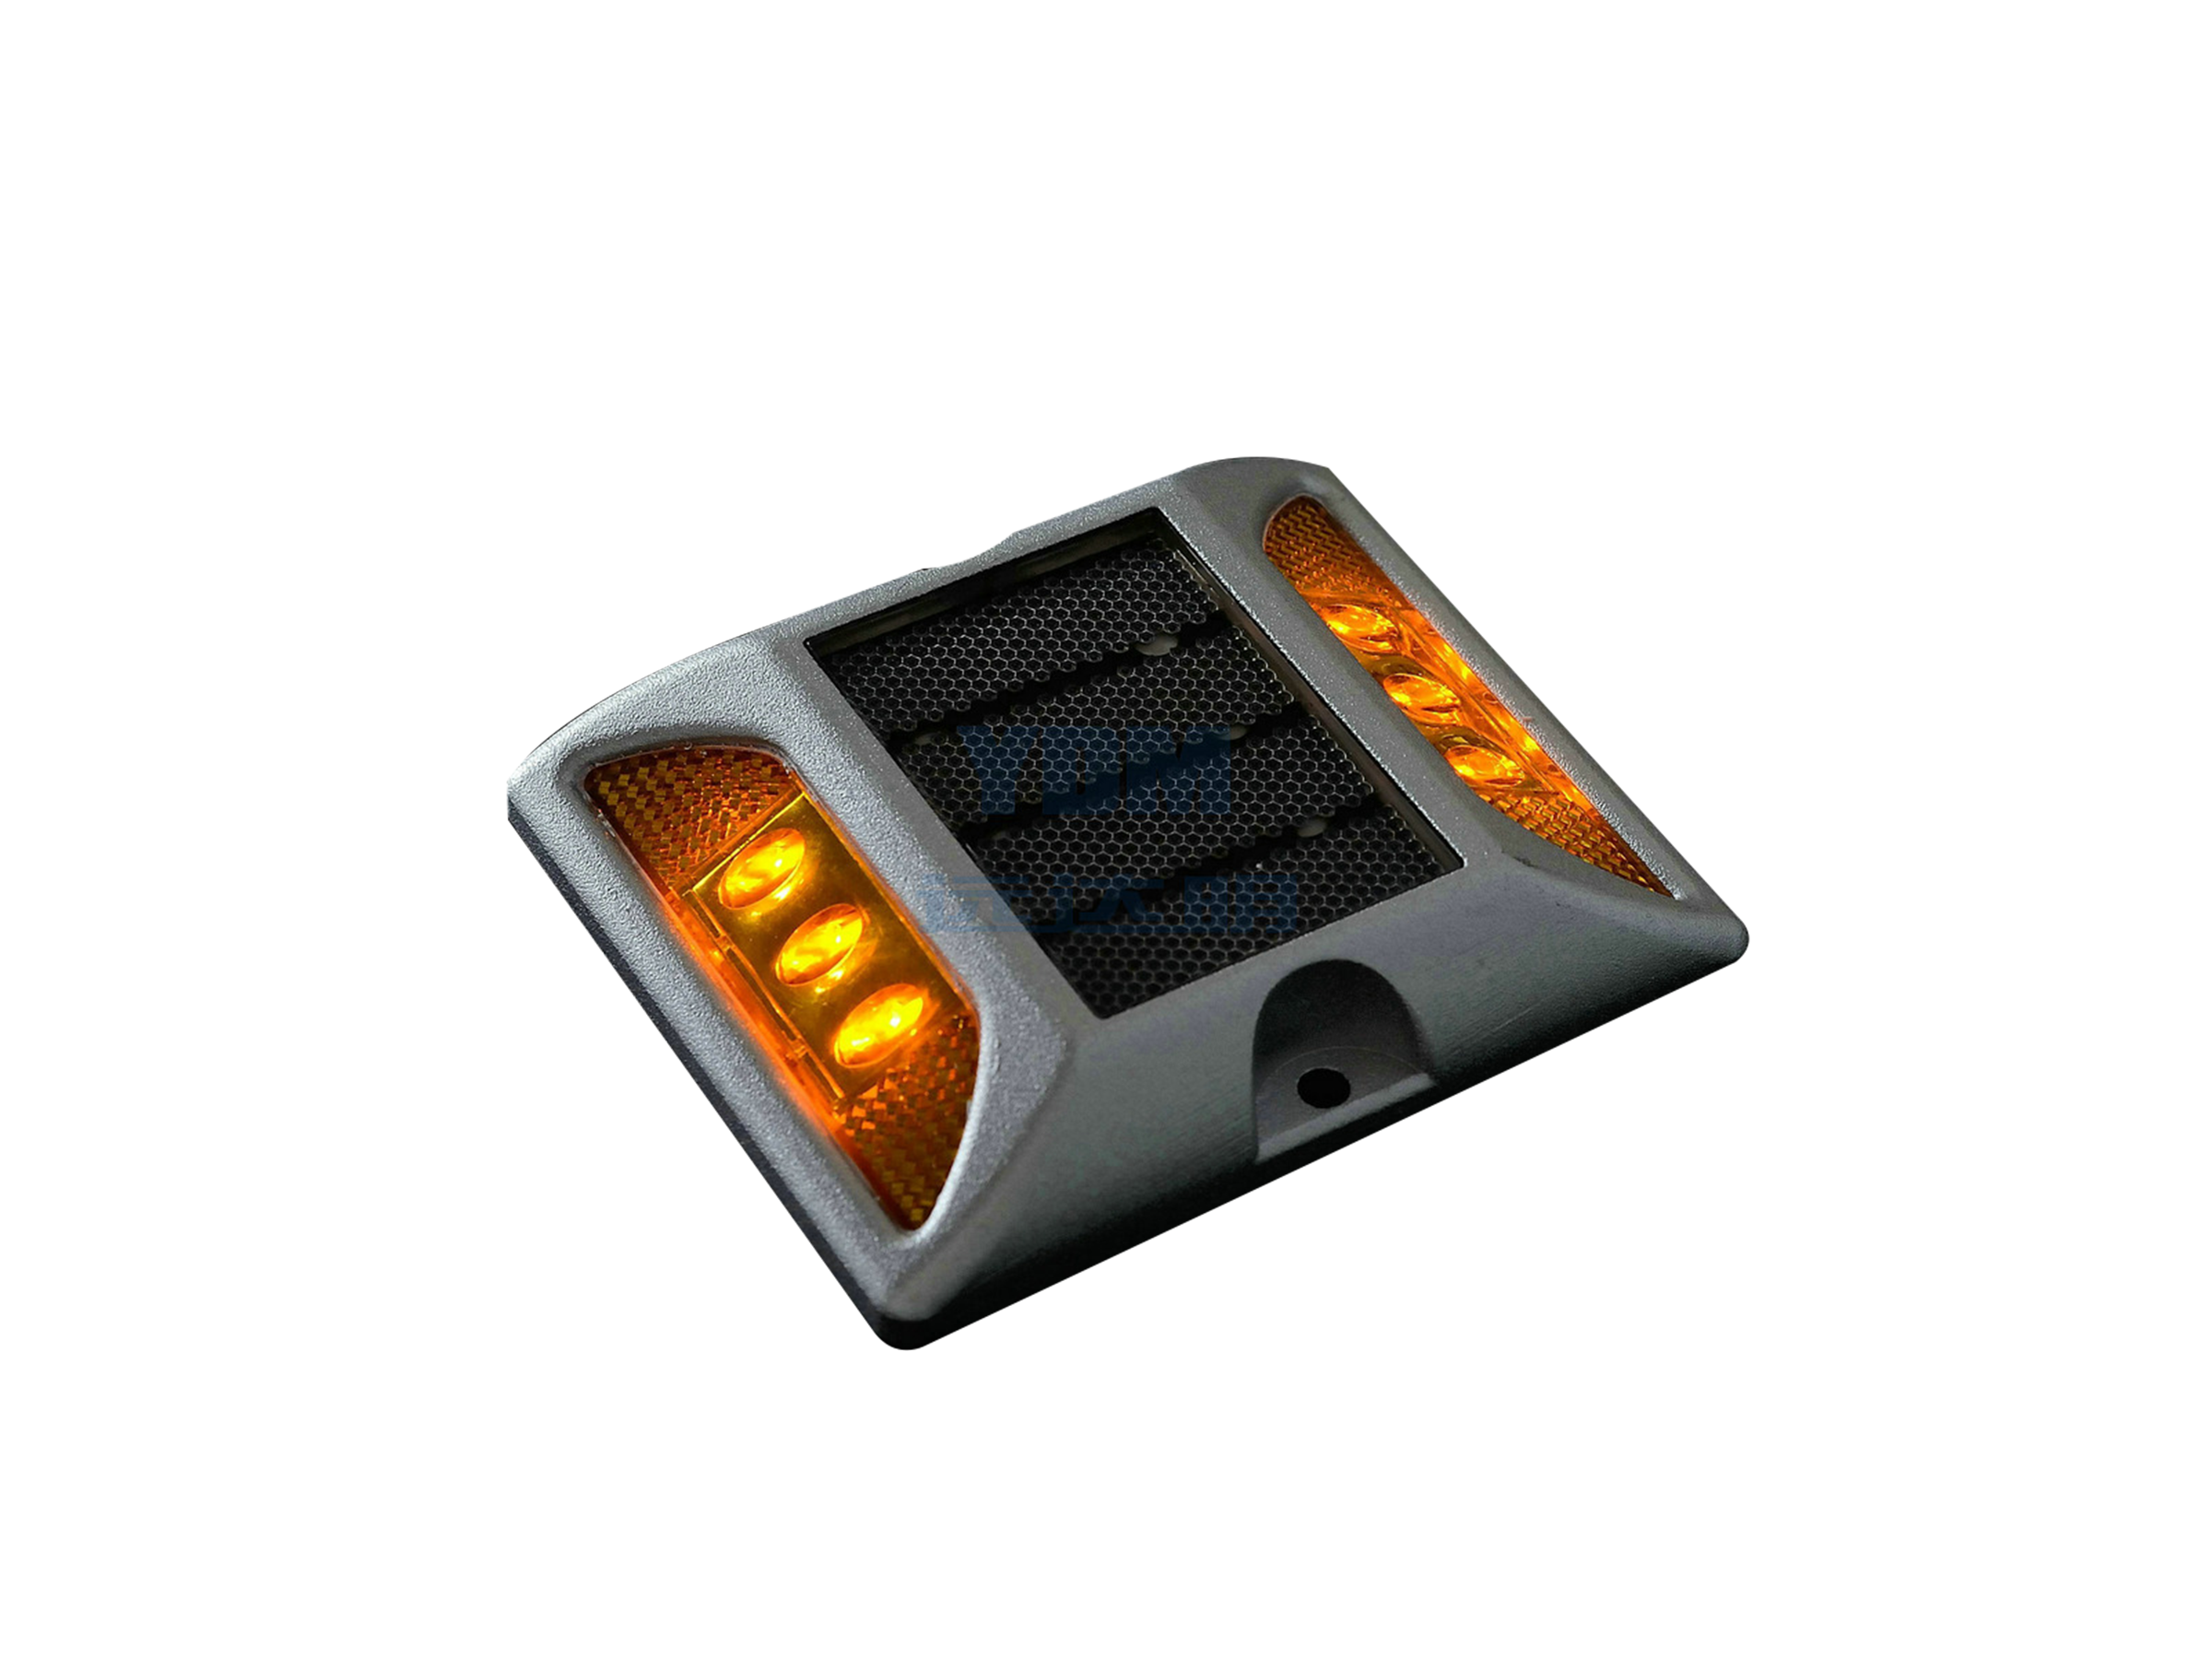
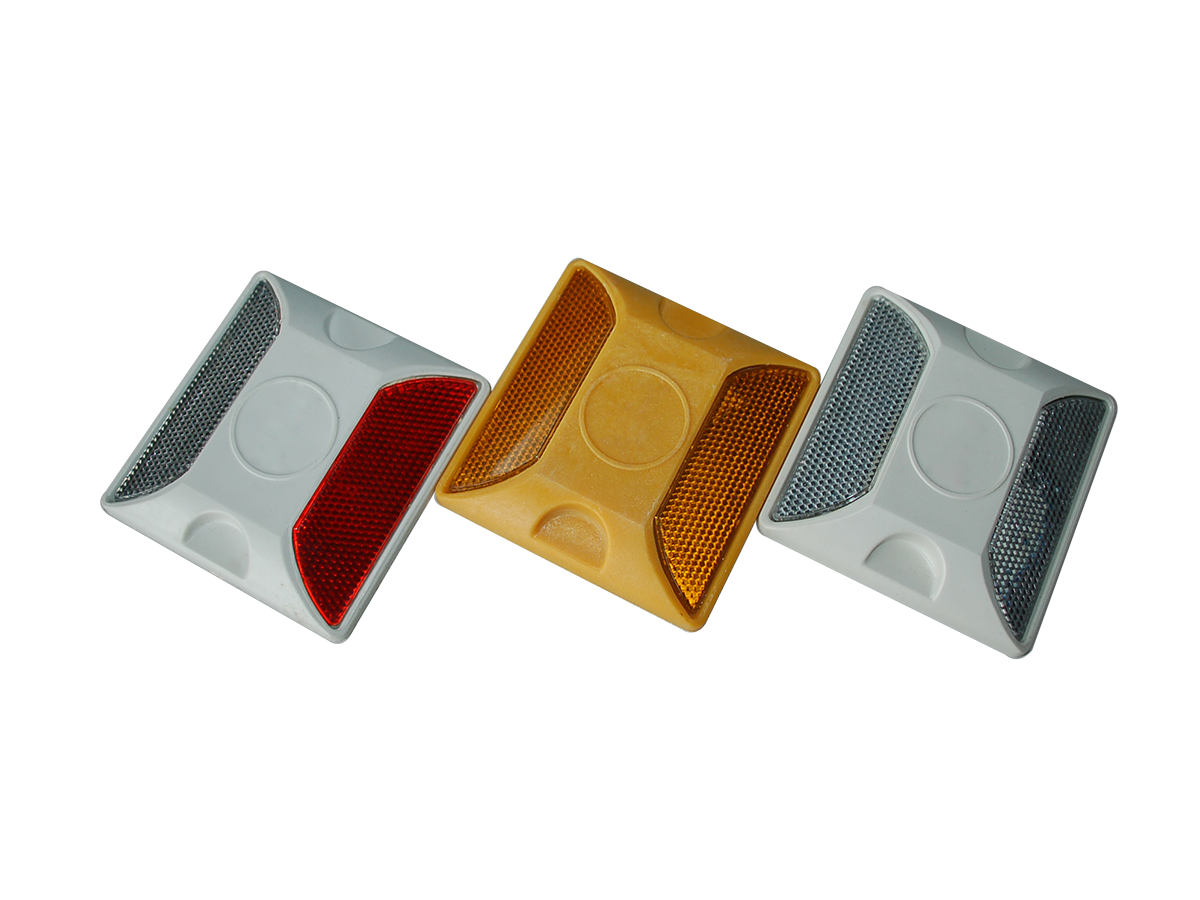
Aluminum Reflective Road Stud with stem
Key Features:
Aluminum body with strong compression resistance. Compression resistance 16Tons. Vacuum plating acrylic lens. Aluminumalloy body ensures durability on high-impact. Glass-faced lens, is made of PMMA, allows continuous high reflectivity for years. Lens reflectivity meets ASTM standard. Special pin design allows more firmly installation.
Standard (mcd/lux):
Obs Angle
Hor. Entr. Angle
White
Yellow
Red
0.2°
0°
500
400
200
0.2°
20°
200
1800
120
Product Features:
Protection for lens is maximized
Aluminumalloy body ensures durability on high-impact
Glass-faced lens, is made of PMMA, allows continuous high reflectivity for yearsLens reflectivity meets ASTM standard
Special pin design allows more firmly installation
Stud Strength:
Outstanding durability ensures fewer replacement and lower maintenance cost.
High reflective lens offers well traffic-delineation after impacted by vehicle after 1 year.
Stud Lens Reflectivity:Excellent performance even in rainy or foggy weather.
Installation:
1.Before installation, solar road studs shall be charged under sunlight for 1 hr, to check the studs can work normally.
2.Placing security isolation facilities for installation work is most important and must not be ignored. In the whole process of dynamic construction, no matter in an new closed road or a running road, every installers shall be in the isolation area. If in a running road, the ratio between security personnel and the installing personnel shall be 1:1; If in a closed road, 1:3.
3.Locate the installing position and ensure it is flat. For curving, cracked or uneven pavement, straighten it prior to installation.
4.Clean the installation location with a brush, meanwhile ensure the location is dry.
5.Glue the road stud thoroughly with proper amount of epoxy glue.
6.Firmly mount the stud on the fixing location & ensure the reflective part is facing the right traffic direction. Do clean the spilled epoxy glue if excessive amount is used.
7.Inspect the installed studs within 2hrs after installation, ensuring that all the studs are fixed in correct direction or not crooked.
8.Remove the isolation facilities in 4hrs after the stud’s installing glue is thoroughly cured.
Application:
• Road Delineation
• Accident black-spots / cluster sites
• Hazardous road layouts
• Areas adversely affected by poor visibility
• Cycle path
• Car parks
• Railway crossings outside of urban areas
• Harbour fronts and landing stages
Packing information:
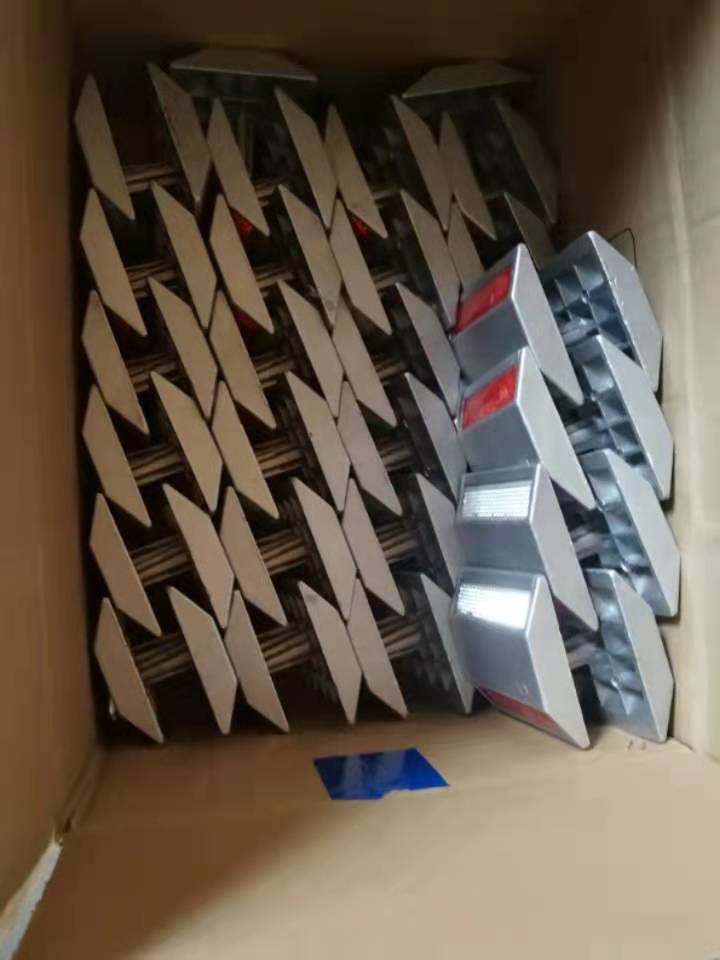
Carton: 47*26*33cm; GW:234g/pc; NW: 230g/pc; 24kgs/100pcs/carton (with stem)
-
-

